|
Sound cards Without a sound card computer components such as headphones/microphones and speakers wouldn’t be able to work. Sound cards process information sent by the CPU, and output it in a way we can understand. If you need to find out what sound card your PC is currently using, press the Windows key and the pause key on your keyboard. In the window that then appears, click device manager. 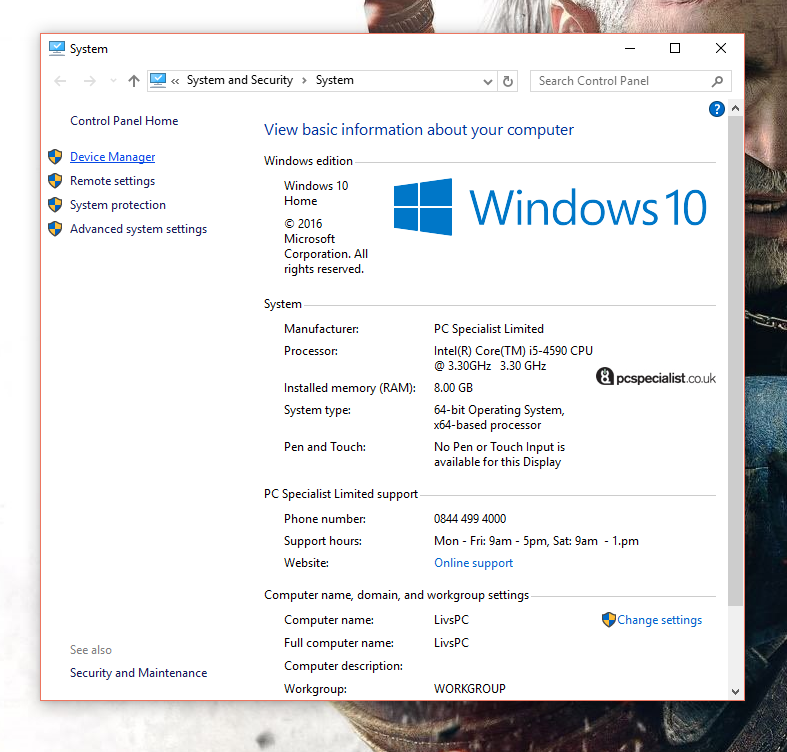 In the next window, select the sound, video and game controllers drop down. The sound card your PC is using will be on that list. 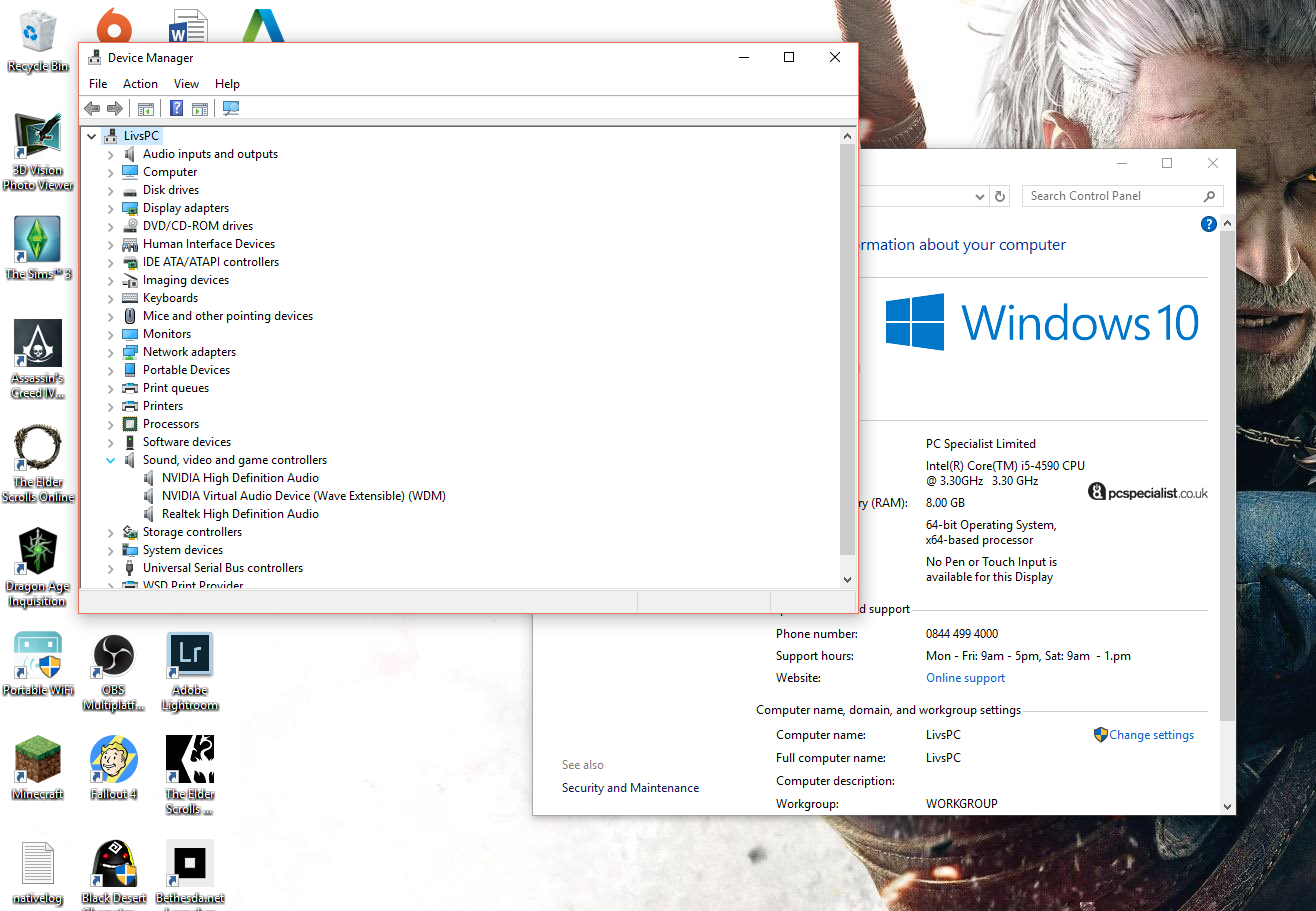 Most sound cards will come with an installation disc with the appropriate software on it, if not or this is out of date. It is best to get the driver from the manufacturer’s official website. 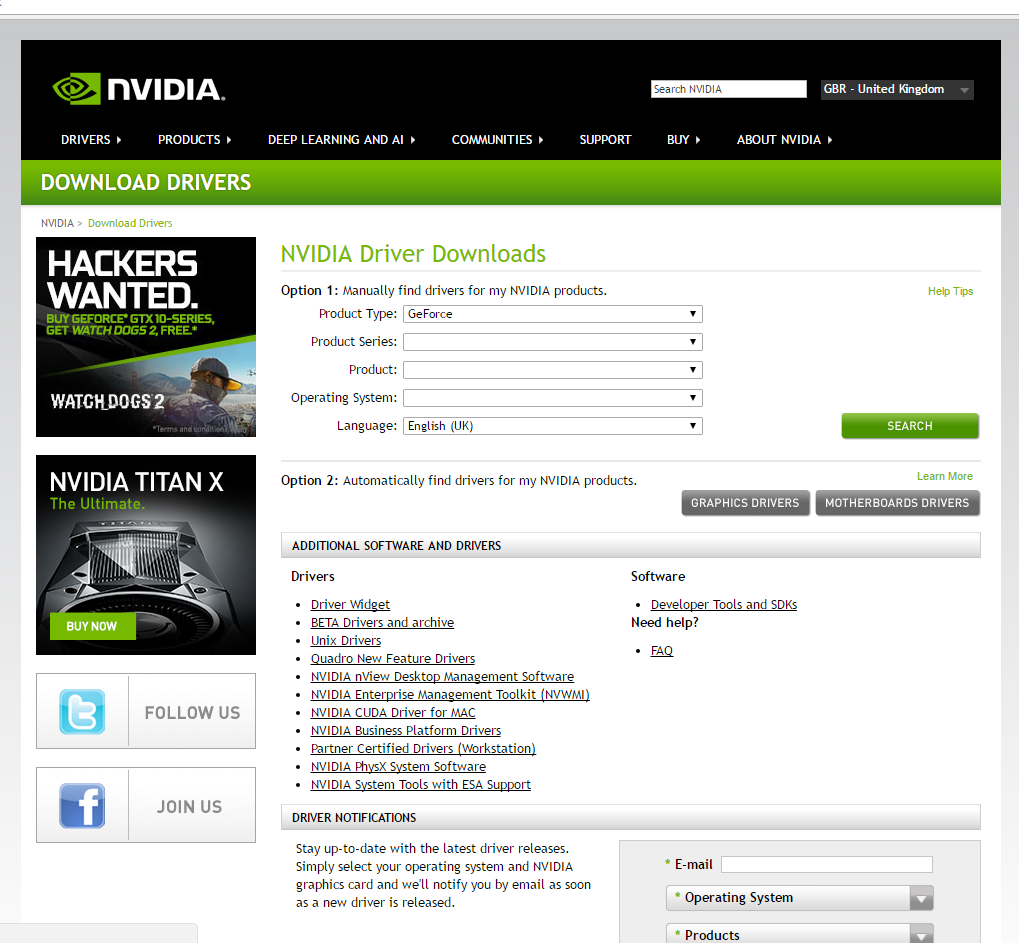 To update the driver software, follow the same steps and then right click on the component you wish to update. Or alternatively, return to the manufacturers website for specific steps. Sound cards will always need configuration after being replaced, this is so your CPU and the cards can communicate and understand each other - same goes with graphics cards. 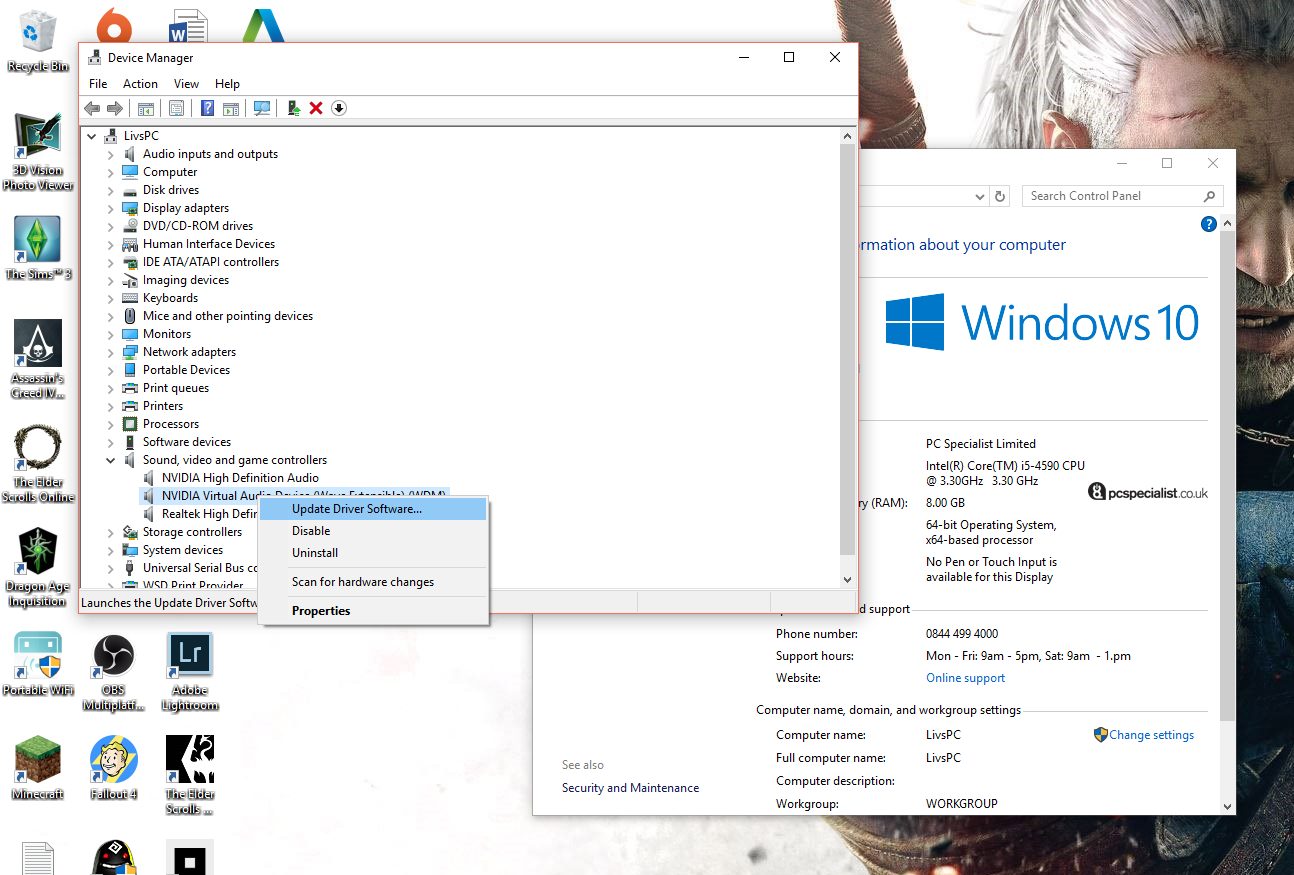 When it comes to graphics cards, they have a very similar function to sound cards – without them, data being sent from the CPU will never be interpreted. To find out what graphics card you currently have click the start menu, search run and click on the programme.  Type in “dxdiag” and press OK. The DirectX Diagnostic Tool window will open, select the display tab where any information about your graphics card will be. 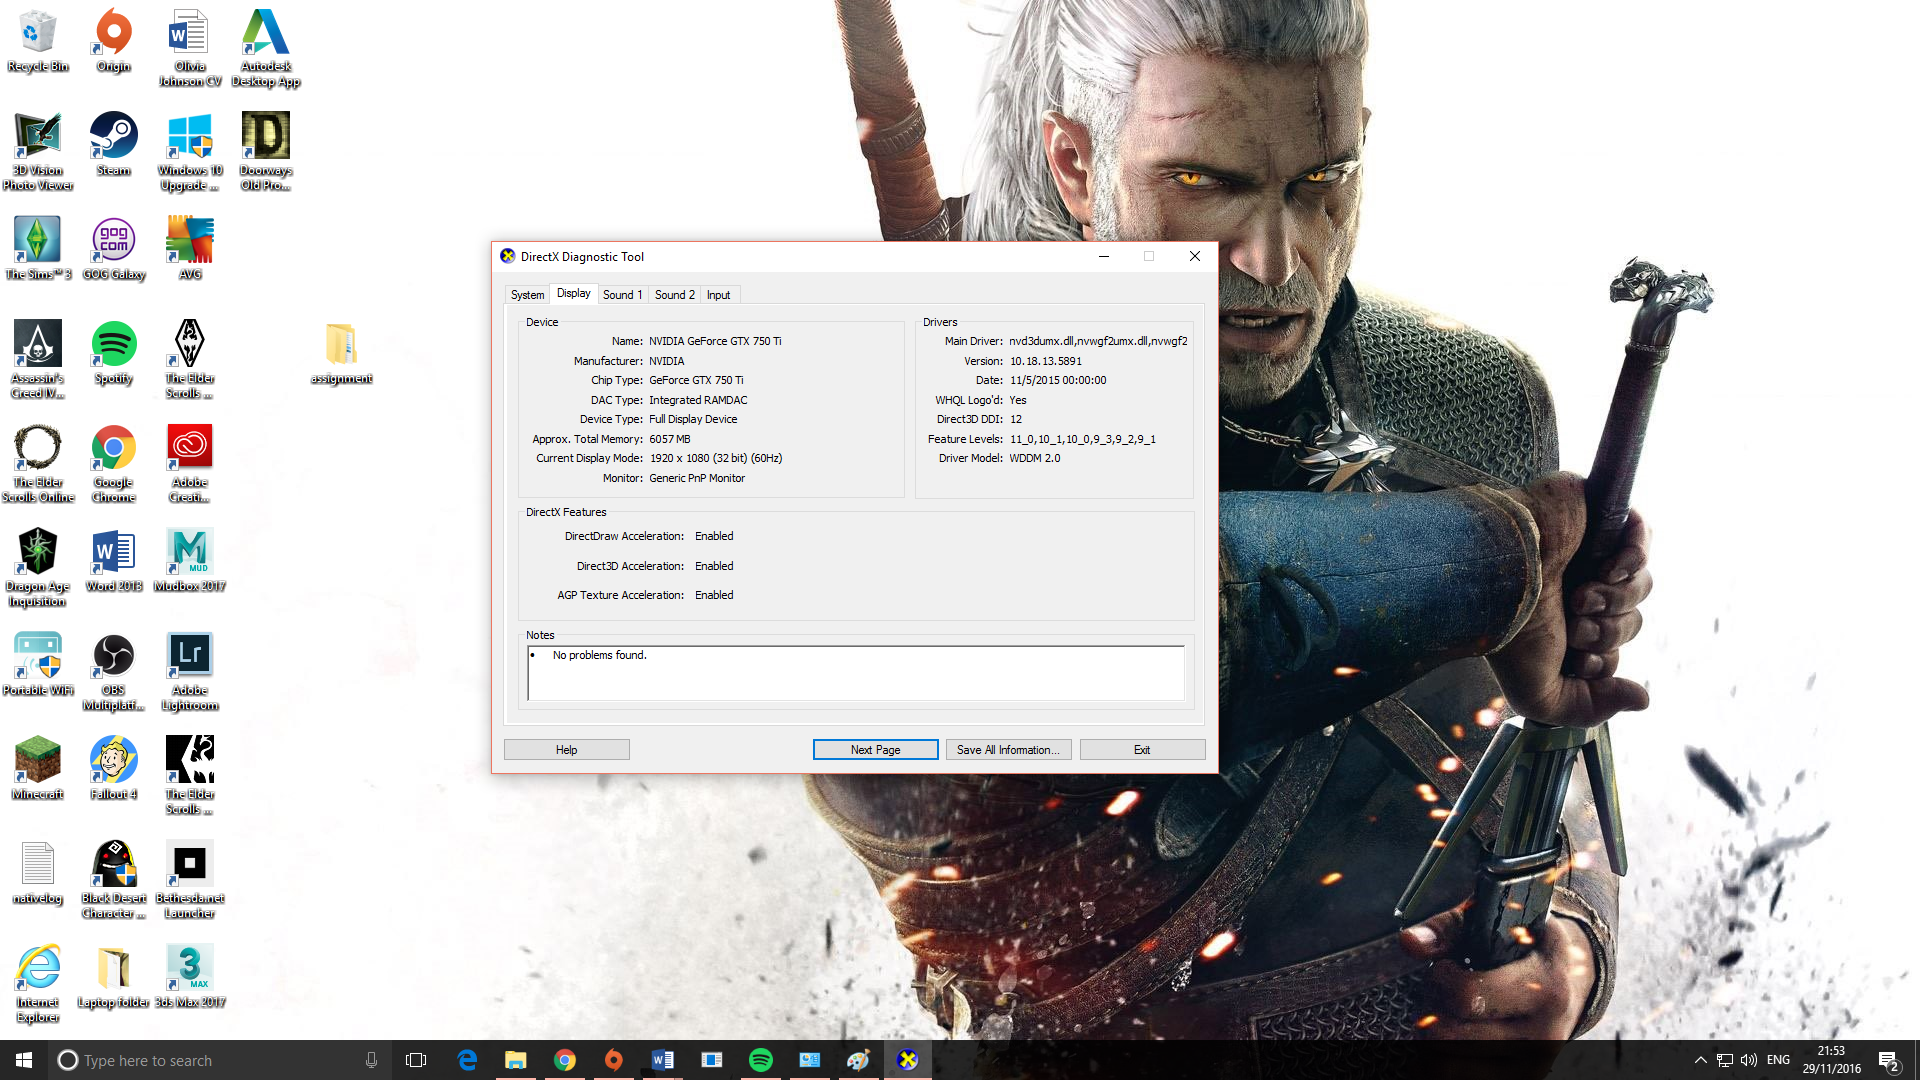 Much like a sound card, if you have installed a new one, you will have received a disc with it with the software for the card on it. If not, or if it’s out of date which it can sometimes be, the manufacturers website will have the most up-to-date version of the driver which you can download and install. All you have to do is follow the instructions provided.
0 Comments
A WAN or wide area network is when you connect over the internet to the same server. This is a much more common method and is used a lot in modern online gaming. Global multiplayer gaming is when a game can be run online and kept going 24/7 by the publisher with open servers that players can join at their leisure. This means players can play with someone on the other side of the planet, who's on a separate LAN connection entirely. However, with games like Minecraft, players can set up their own servers privately via Minecraft. This means that the players can all be on different LAN servers, internet connections or even different time zones and still be able to play together.  To connect to some of these servers, or host your own, all you need to do is make sure you are connected to the internet; either via Wi-Fi or Ethernet cable (connect the RJ-45 into the port at the back of your PC or console, and connect the other end of the cable to the router. Then configure your PC or console). Once you and your friends are connected to the internet, playing your game of choice will be a matter of time. 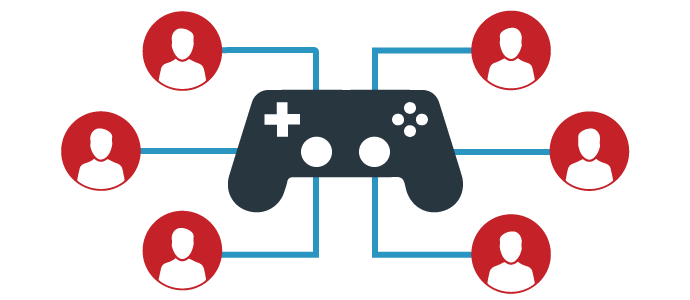 LAN stands for local area network, when it comes to gaming it means all the devices share the same default gateway (router or switch) – all the devices are on the same network. Every device on a home network – phone, smart TV, console or PC – can all communicate with one another over this connection. Using a router, the devices are able to communicate across the same network. Some games are able to host a multiplayer LAN game, to enable this you will need one device to function as a game server (this device will be running the game and may or may not be in play) and all the other devices need to be connected to this either via cable or wireless. 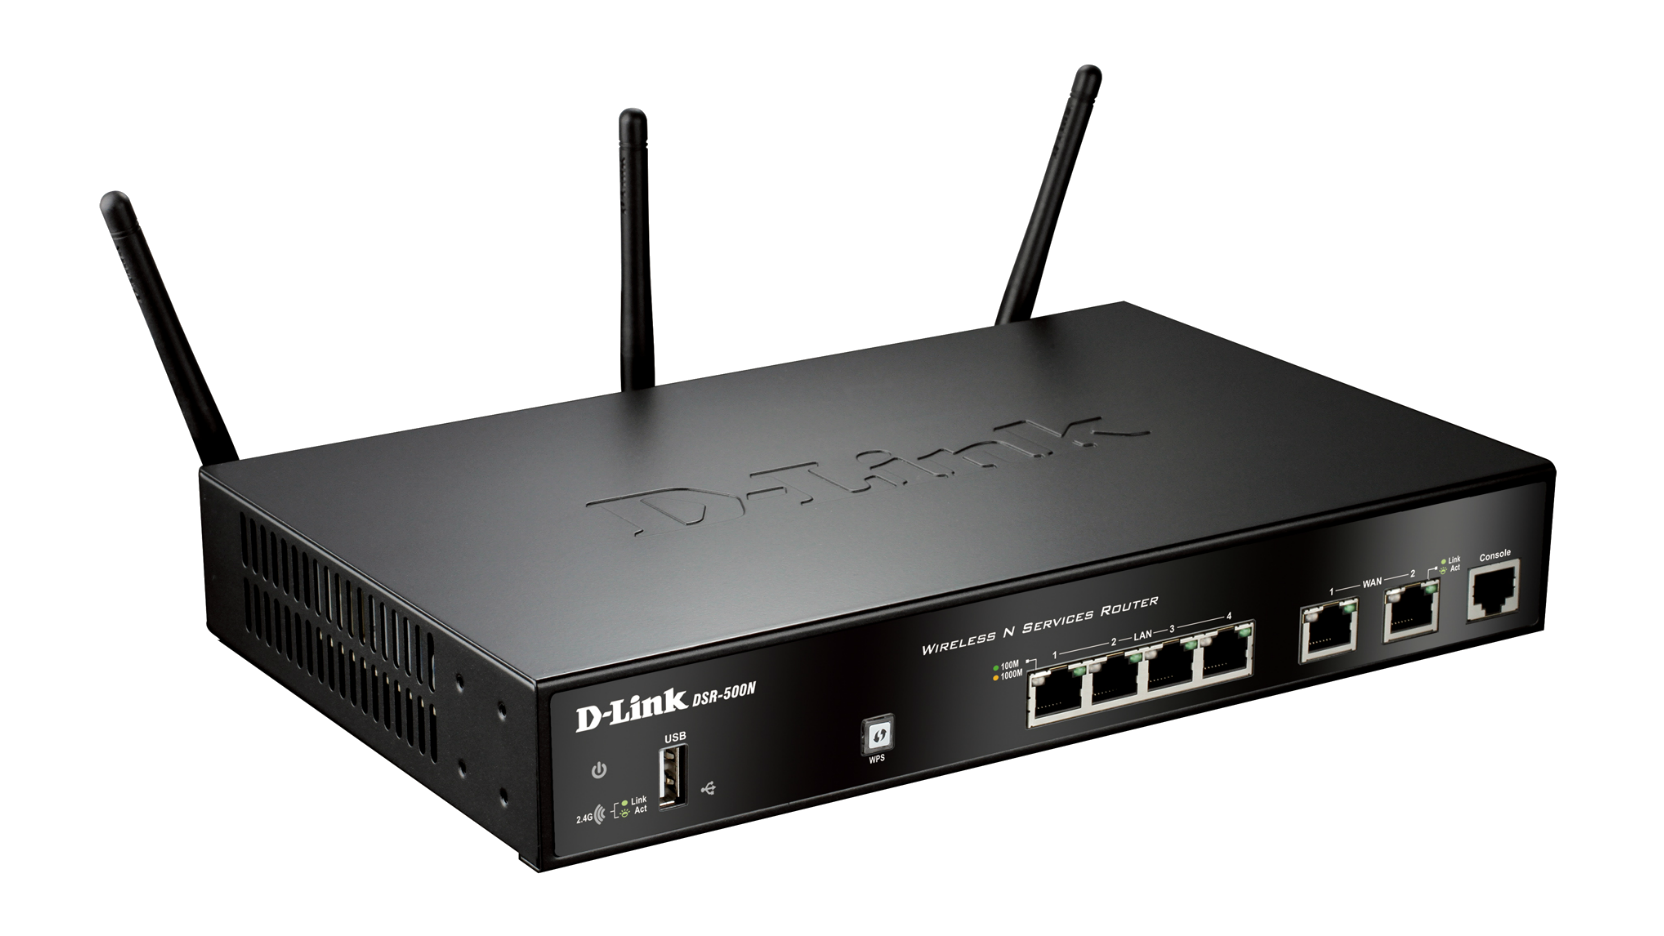 Standard D-LINK router. The ports for LAN connection are labelled in the center. Games such as old versions of FIFA, Age of Empires 1, 2 and 3, and Counter Strike are all examples of game with LAN based communication.  To set up a LAN based play, you would need a router which can host up to 4 players, for any more than that a simple LAN switch (you can get these for up to 8 to 16 ports, which allow this amount of players) would be better, and once all the players are connected and all IP addresses are correct, the players are good to go. 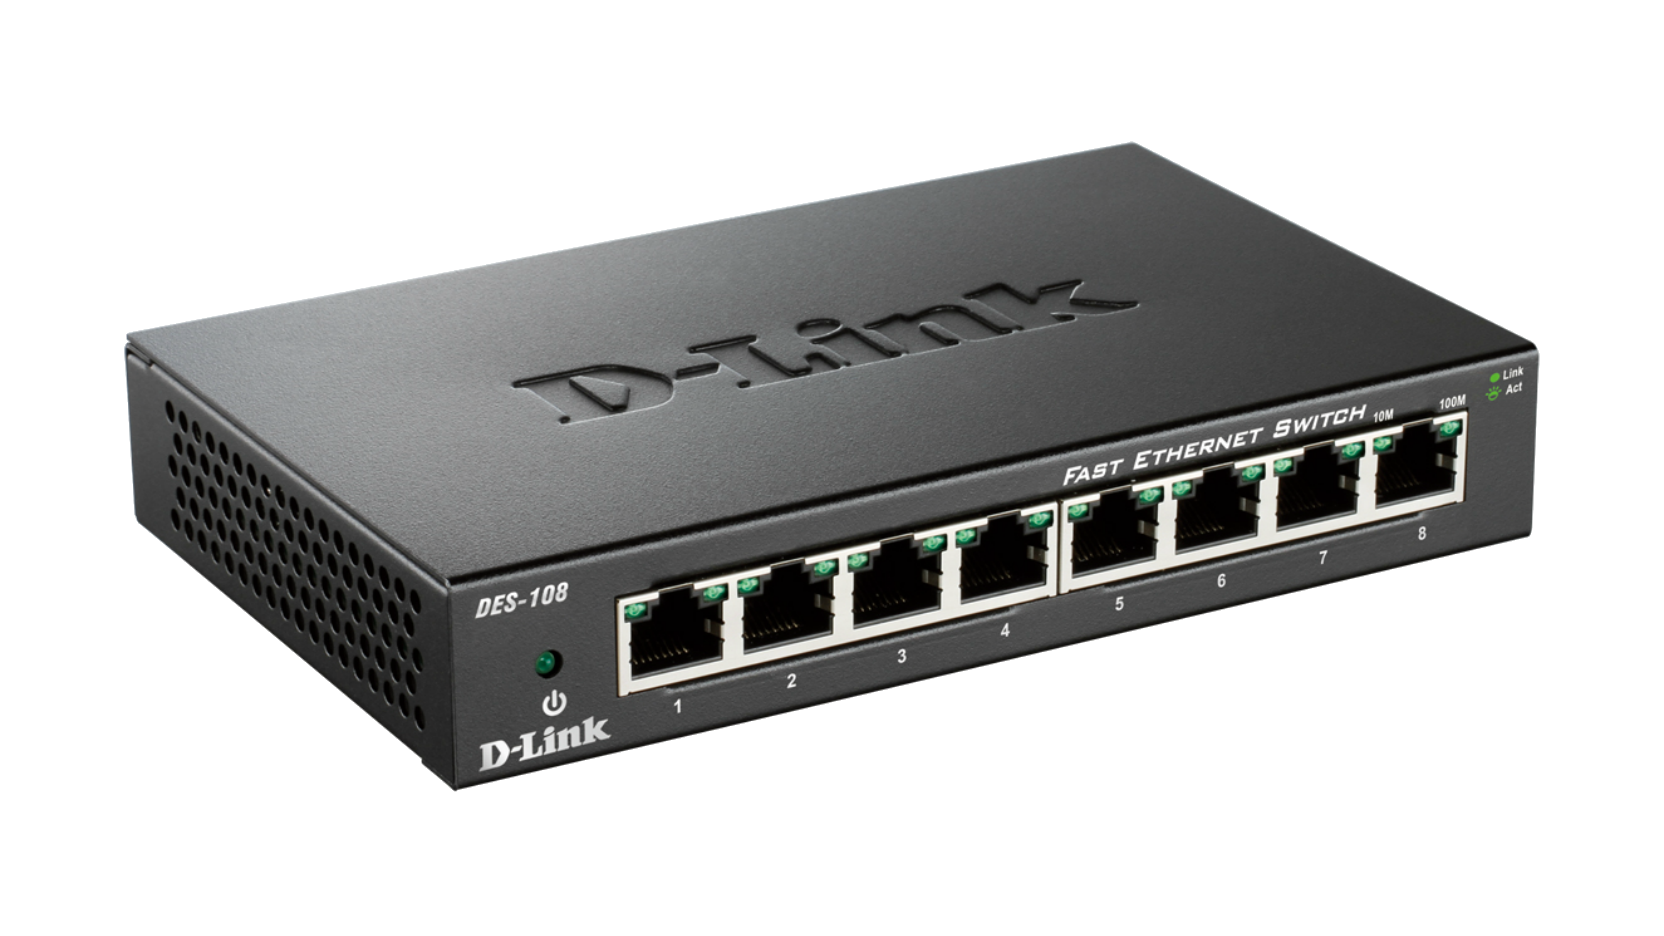 Standard D-LINK switch with 8 ports It’s not a common practice to connect consoles this way, however it is possible in the same way. WAN connections are far more common with consoles. However, to connect consoles you would use system linking, and is possibly with older generation consoles such as an XBOX 360. To link a group of XBOX's, you would need a network device much like in PC LAN gaming (router or switch). Firstly, make sure the consoles are all switched off and connected to separate monitors. Then, connect the consoles to the router or switch via Ethernet cables and turn all equipment. Lastly, follow the chosen games instructions. 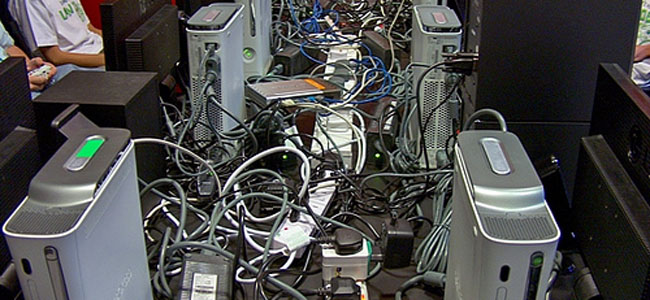 Fun fact: LAN parties used to be a thing. Multiplayer gaming was around long before the internet was, so players had no choice but to get together and connect via the same server to game.  Gaming devices include anything from a mouse and keyboard, to a joystick or console controller. To connect any or more of these components, make sure your computer is set up correctly (follow previous tutorials for this). Your PC can be switched on or off during the installation, sometimes having it on is handy because you can check that the devices are working. Next have your chosen mouse and keyboard to hand.  Find the USB end of either device (it doesn’t matter which you start with), and connect each of these to the empty USB ports in the back of your computer tower. NOTE: you can actually connect them to the USB ports in the front of the tower, however it is handy to keep these free for other components like USB sticks or USB wires. After either of these components have been connected, the PC should automatically detect and install these and they should be working within seconds.
If your keyboard has any special functions (like a touch pad) or is wireless, you may need to install the keyboards model-specific software and drivers for them to work correctly. If this is the case, your keyboard will come with a disc or will be downloadable from the manufacturer’s website. Once these are downloaded and installed, set up will be instructed and provided. First, make sure you have the correct components to setting up your PC. This should be; your PC CPU tower, your PC monitor, your keyboard, a mouse and the following wires: PSU cable (sometimes there’s two if the one for your monitor is detachable – some aren’t), HDMI or DVI cable (VGA cable for some older computers), and if your computer isn’t wireless an Ethernet cable. 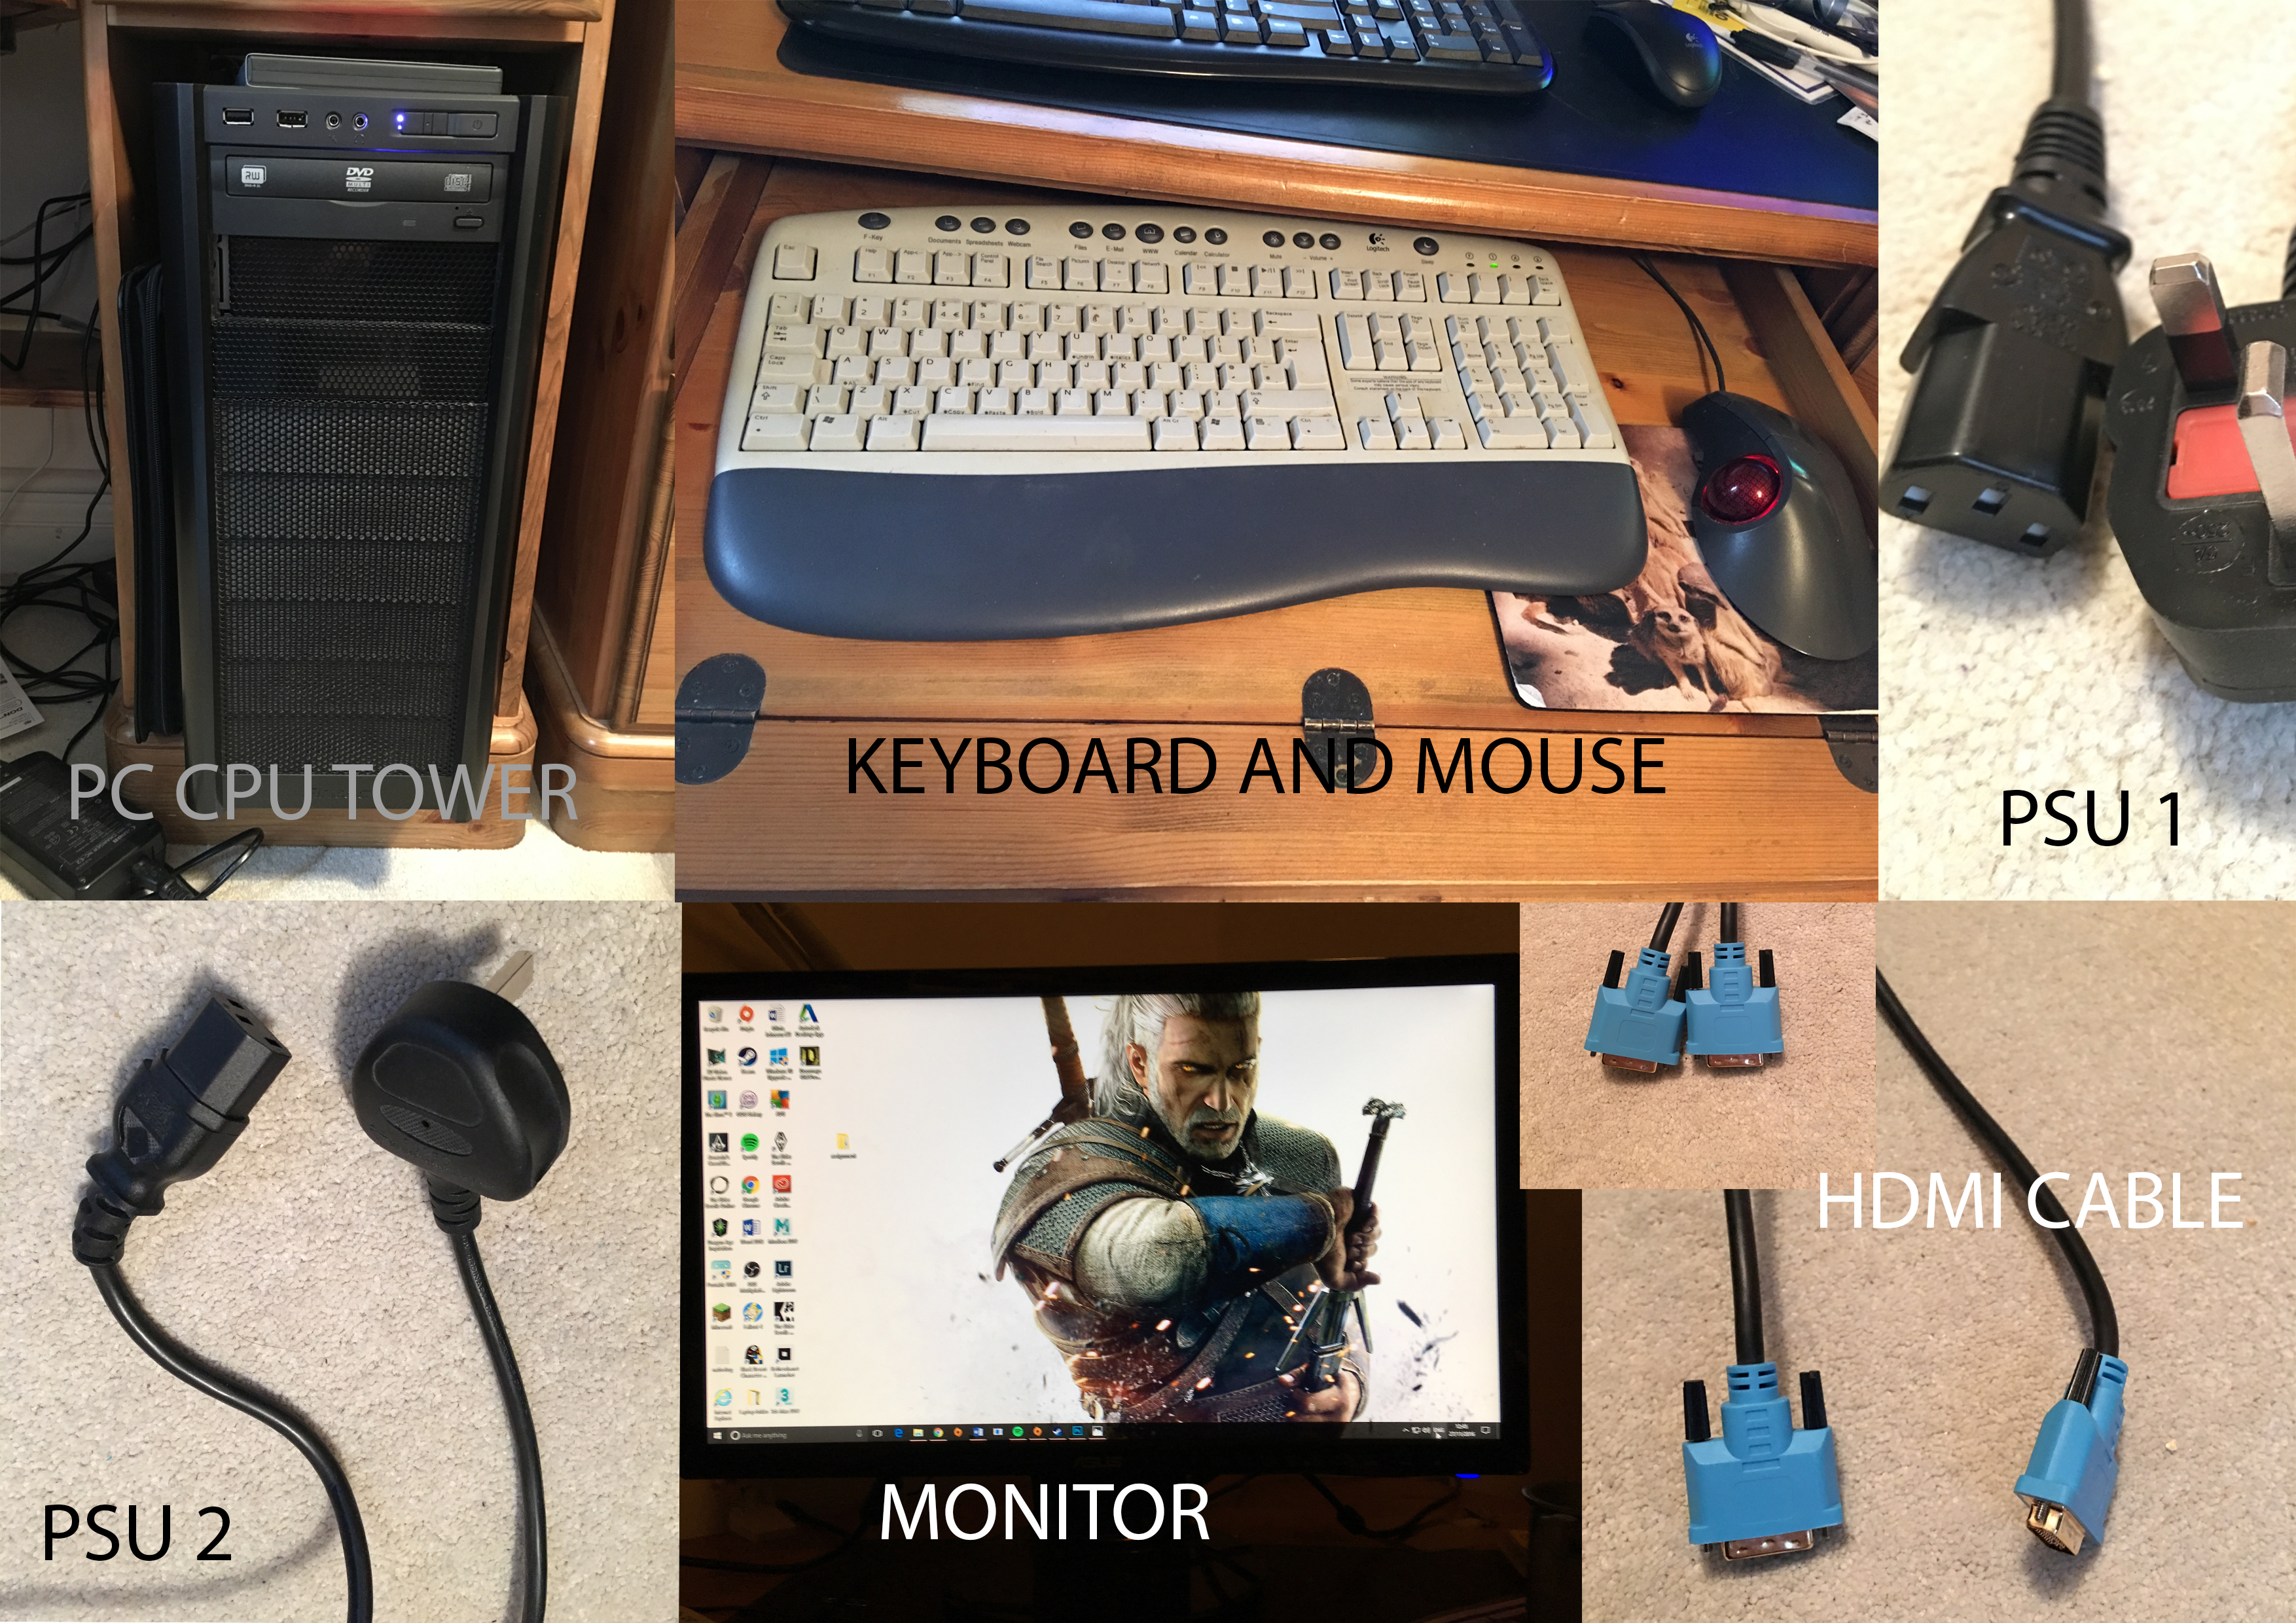 First, connect your monitor to the PC CPU tower. To do this, plug one end of the HDMI, DVI or VGA cable to the back of the monitor, and the other end to the correct socket at the back of the computer tower. The next step is to connect the monitor to a power outlet, taking one of the PSU cables, connect the C13 female IEC end of the cable to the socket at the back of the monitor, and plug the other end of the cable into a power supply socket. If done correctly, a light will come on the side of the monitor. 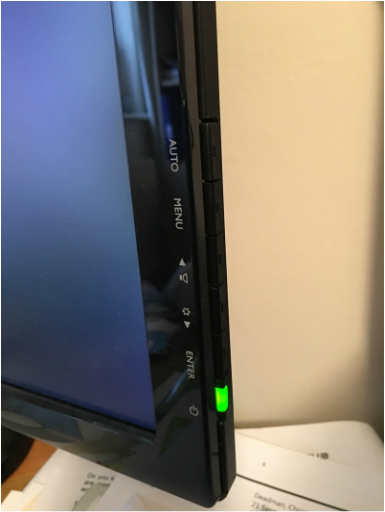 Next, plug in your mouse and keyboard using the USB ports at the back of the PC’s tower (or in this case, the keyboard cable is a PS2 and will go in the corresponding port). You can use the USB ports at the front, but you may need those for other things. Usually the USB ports for the keyboard and mouse are found at the back top of the tower and tend to be colour coded. 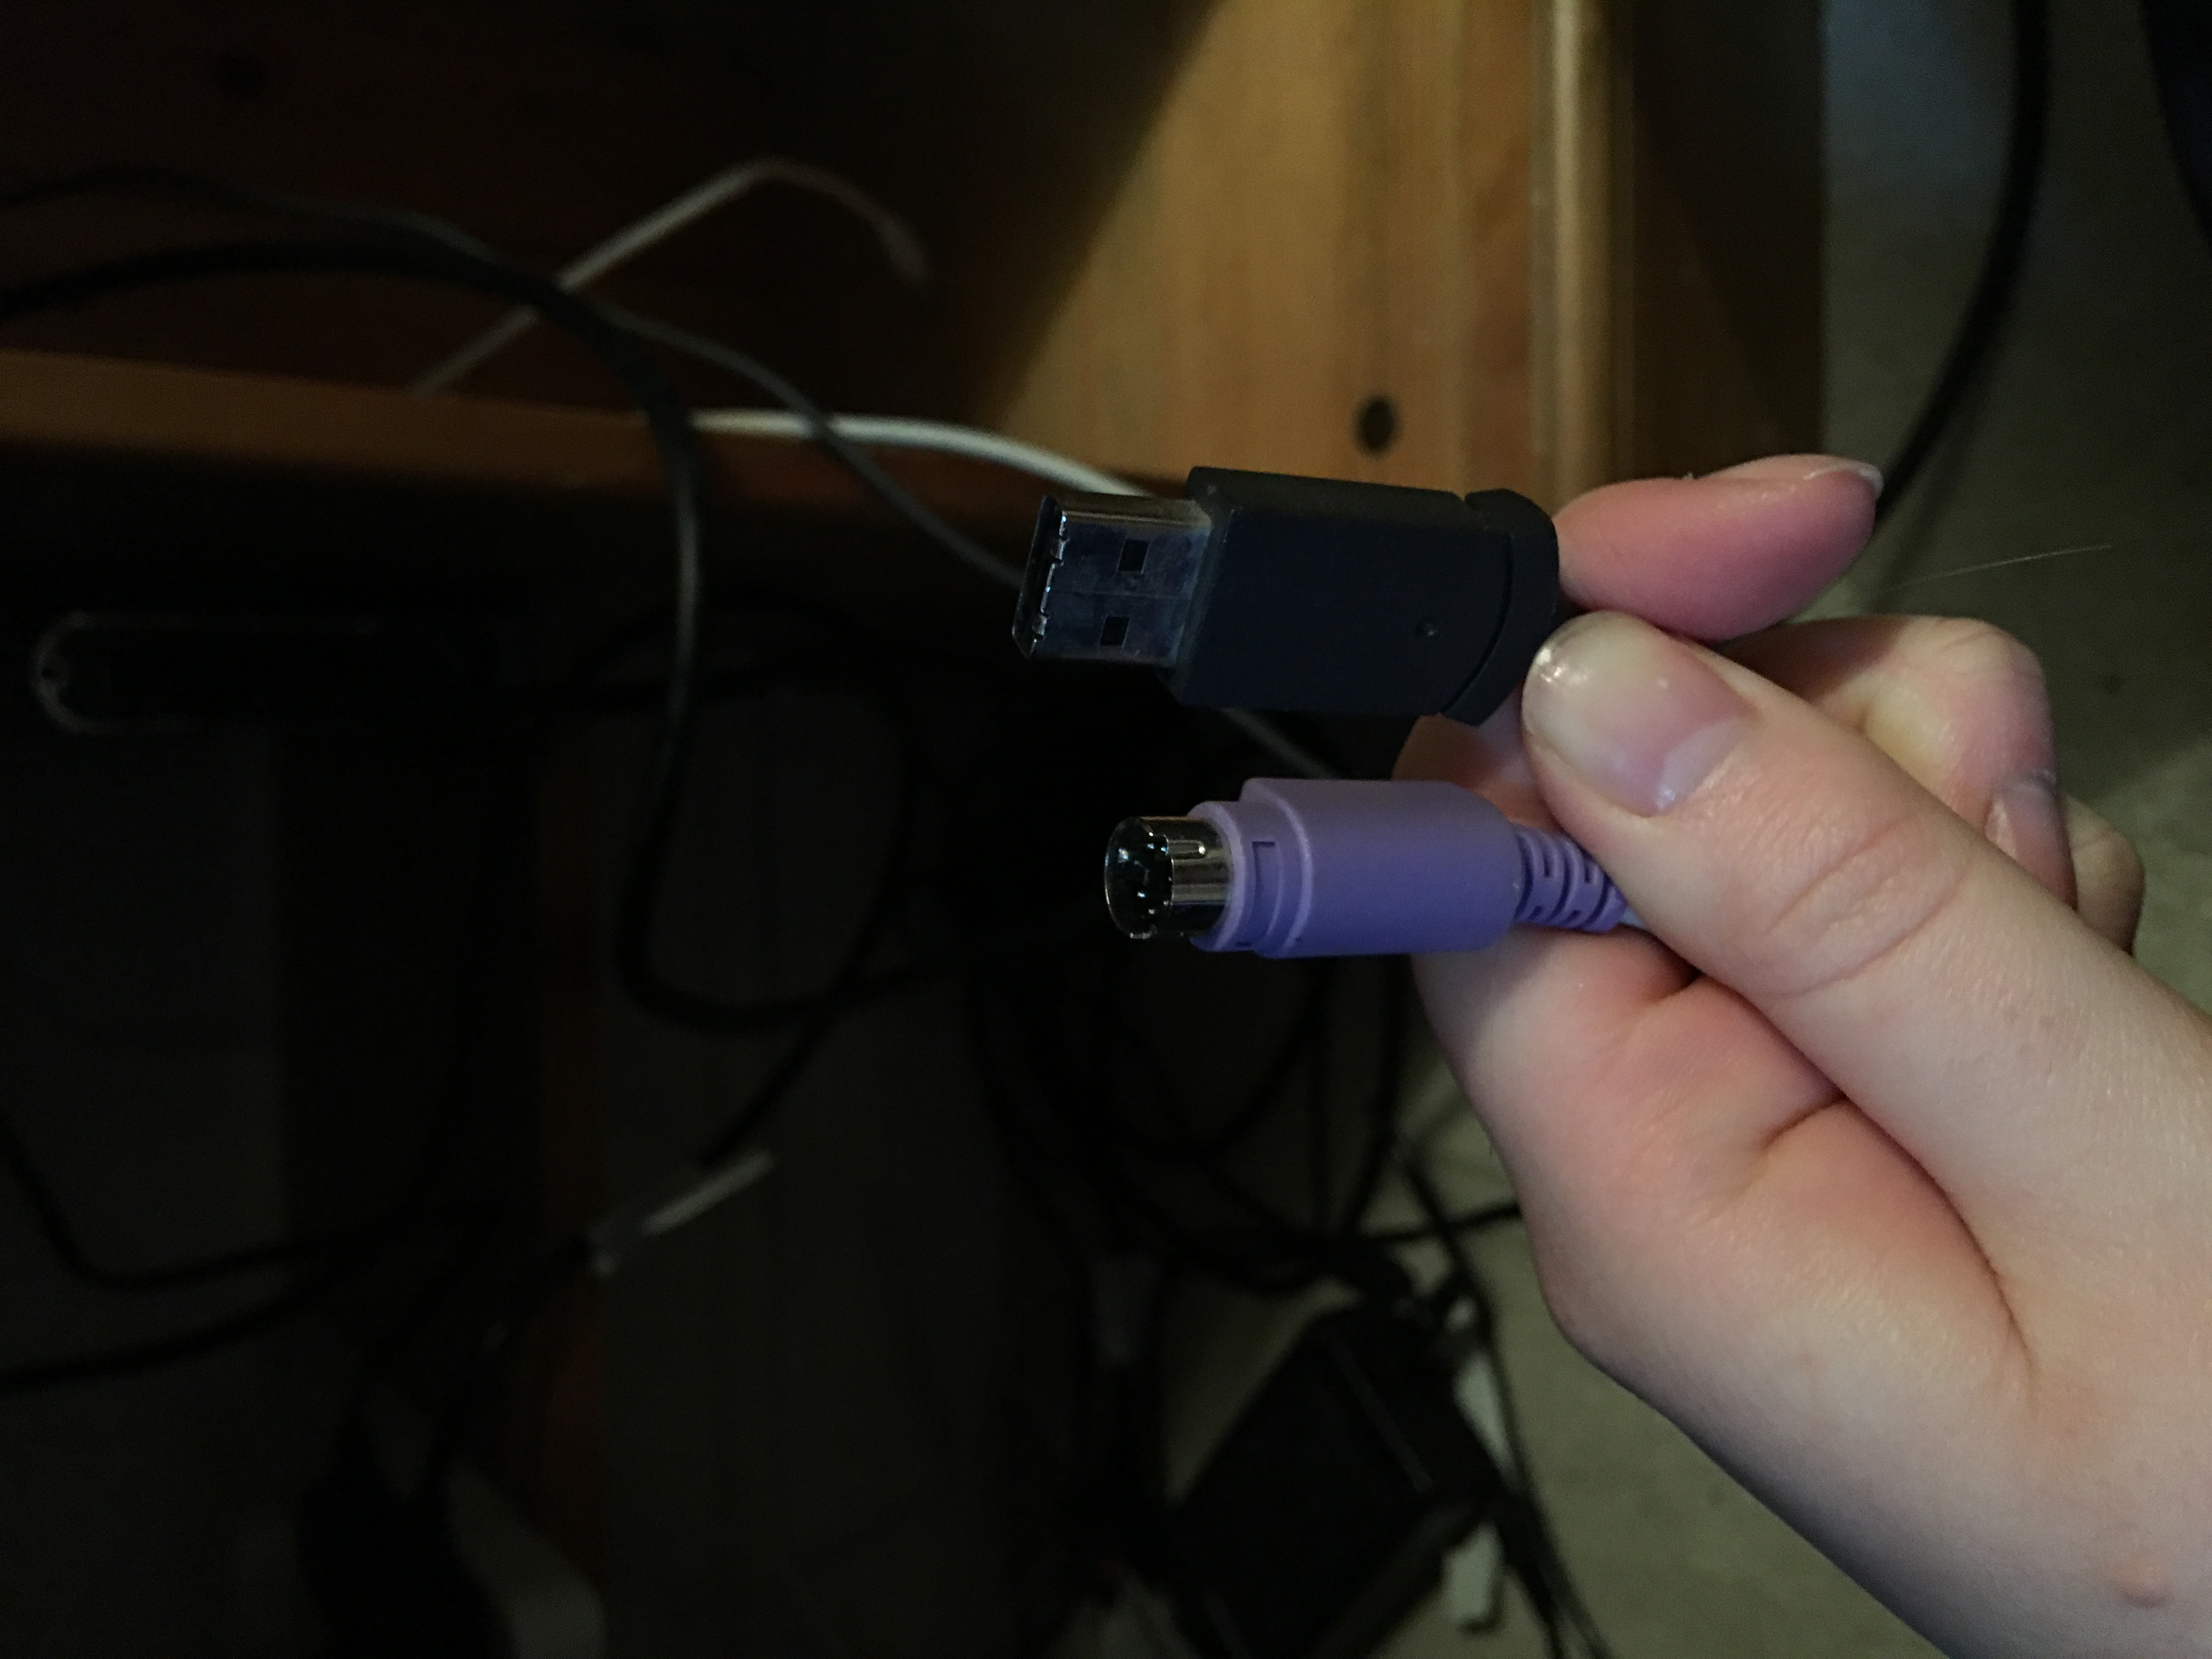 Finally, connect the PC tower to an outlet. Plug in the C13 Female end of the final PSU cable into the corresponding connection at the back of the CPU tower (usually located at the bottom or top of the unit), and connect the plug into a power socket. The final step is to switch the power button next to it. If everything is connected properly, a light should come on at the back. When ready, turn the PC on using the power button at the front. 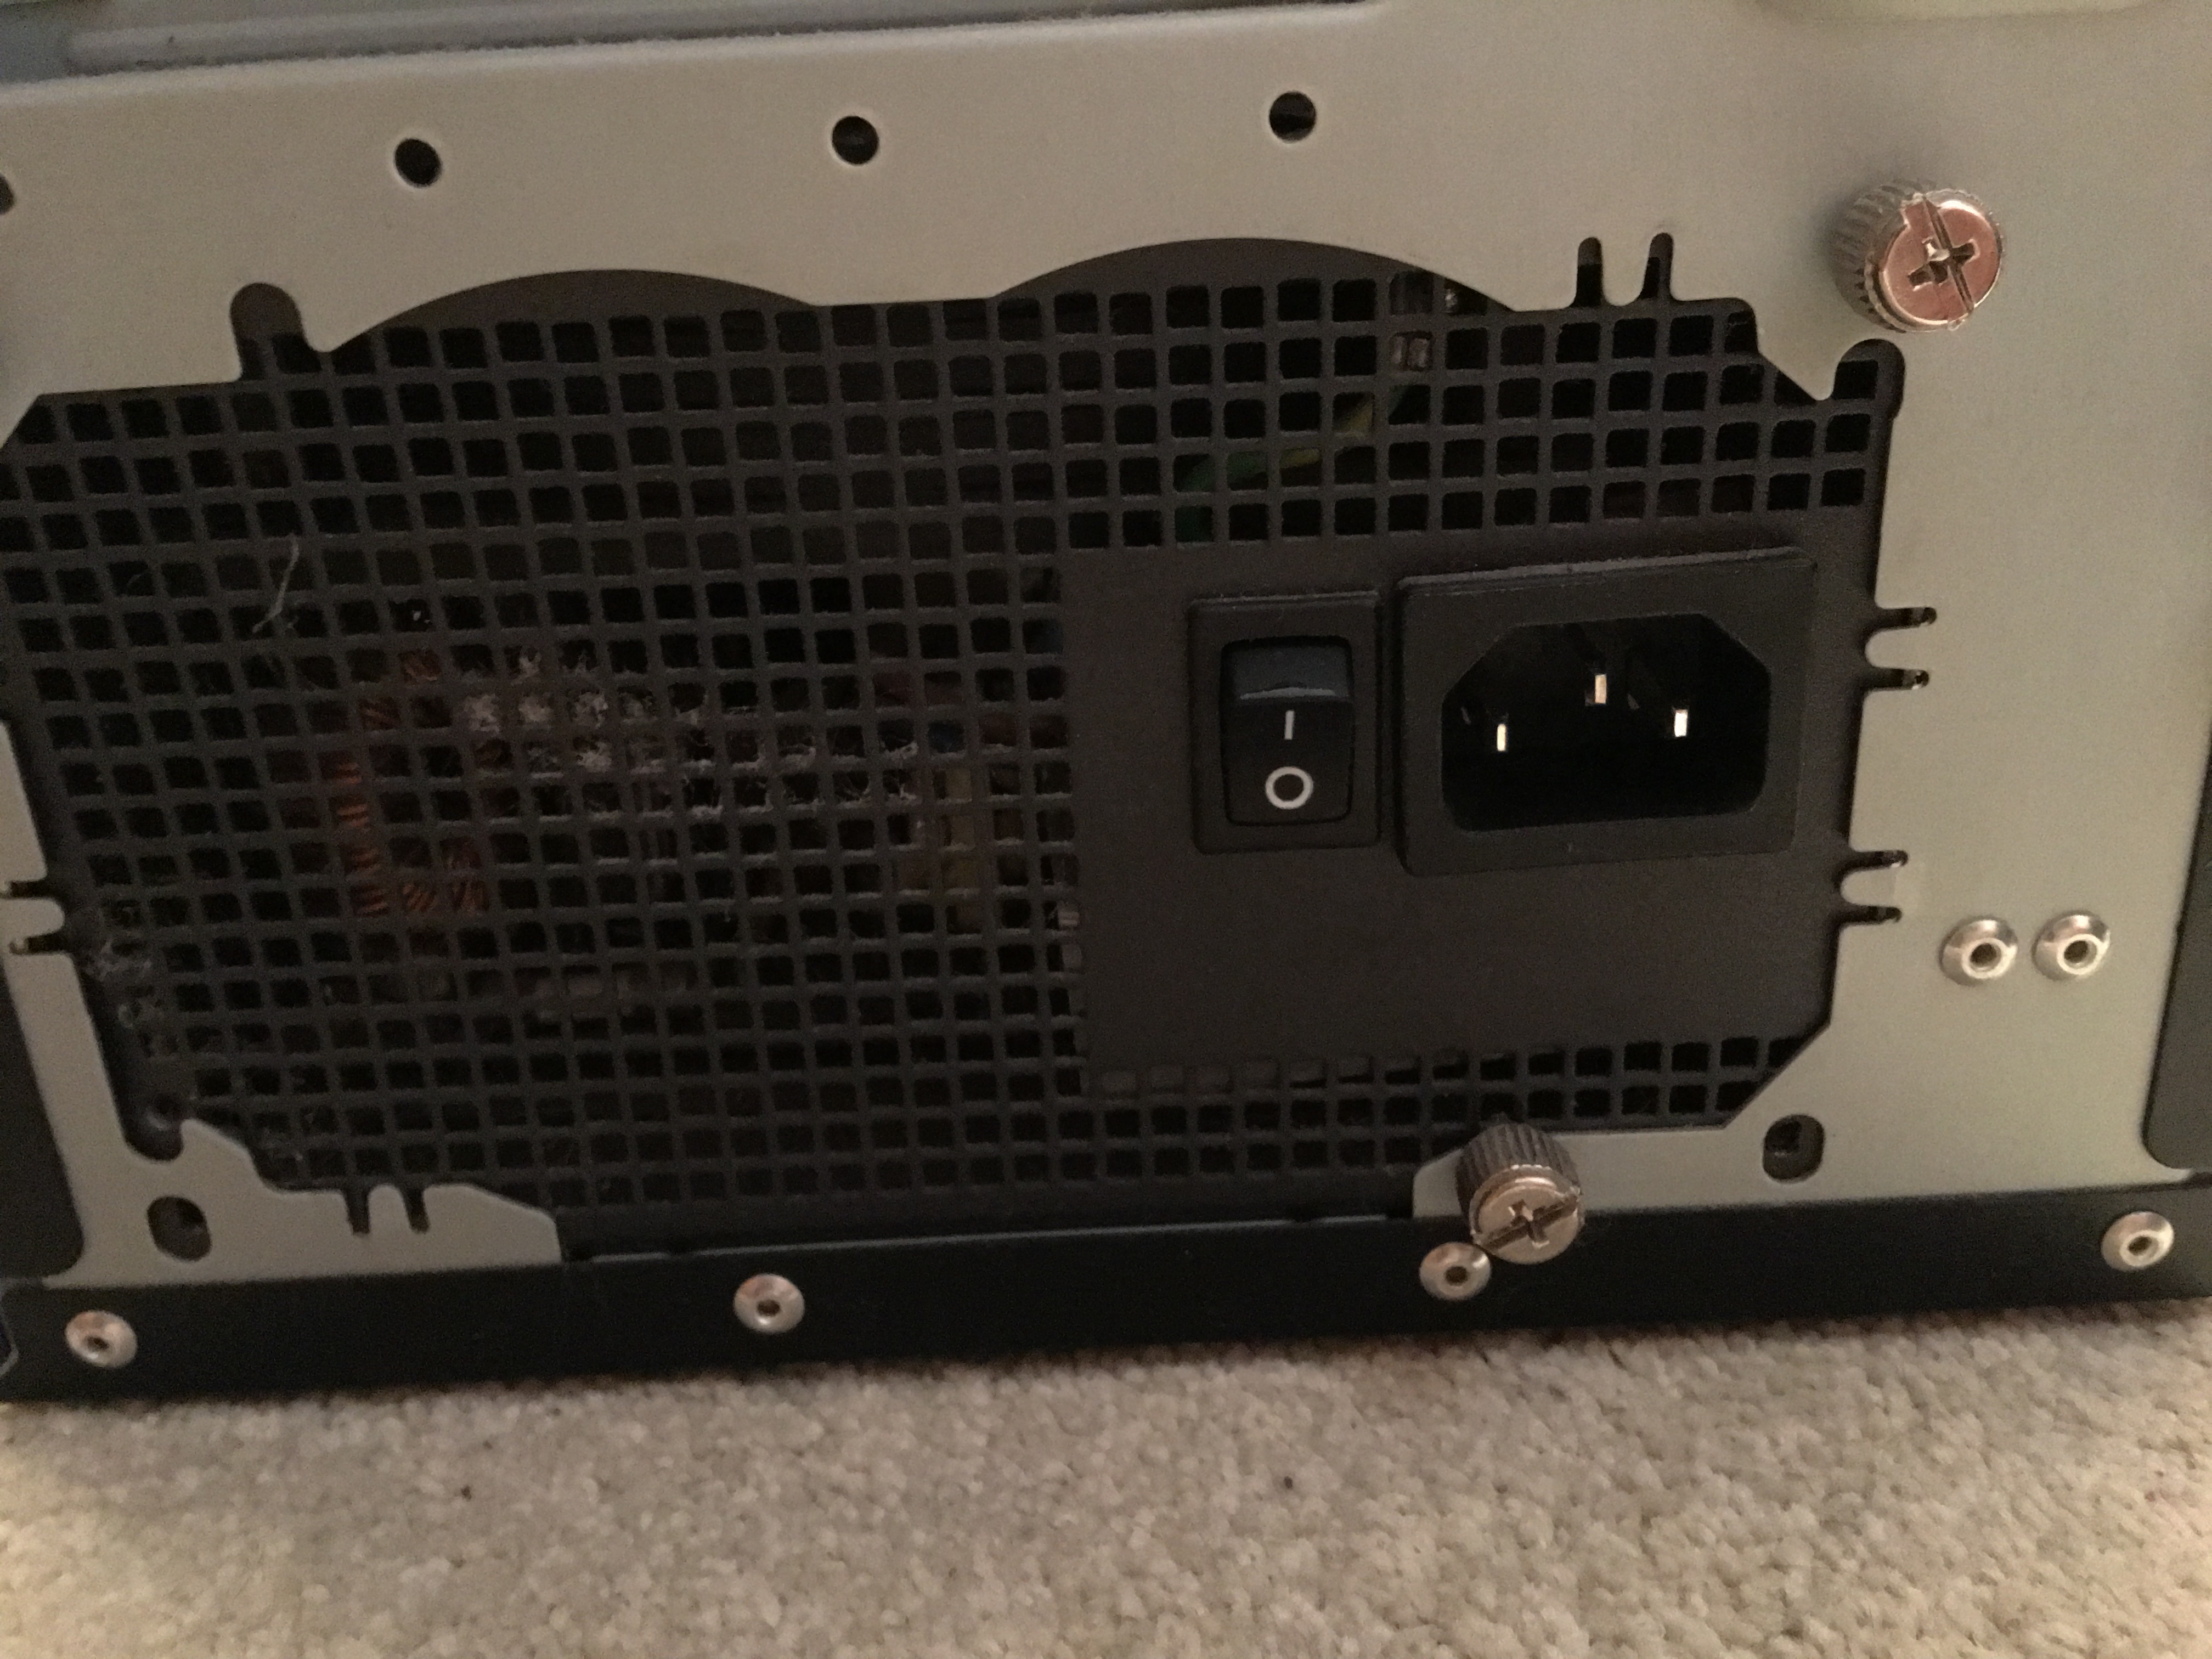 Install a game onto various game platforms and configure them to enable the games to be played11/23/2016 Installing a Game onto Steam Configuring a game to be played on a PlayStation 4: For a guide to install and configure an Nintendo 64, please follow the slide show below: |
